The Yashica Electro 35
A Classic Rangefinder with Attitude
The Yashica Electro 35
From whence it came
Unlike some of my analogue camera friends, I don't go around collecting dozens, if not hundreds, of cameras. To me, a camera is something both of beauty and function, and the Electro35 is cretainly one that meets both requirements.
If you read the numerous film camera blogs, the Yashica Electro 35 is a camera that has to be avoided at all costs. It has a reputation for failed electronics or the Pad of Death. Both are issues that the Electro 35 suffers from, but if you have one that works well, you will find you have a very functional camera that can be your omnipresent, everyday companion.
The Yashica Electro 35 first appeared in 1966 and was a ground-breaking camera, given the electronic exposure control built into it. This feature made it possible to have the simplicity of a Point-n-Shoot, but have the features of a high-end rangefinder camera. It allowed more Happy Snappers to go to the next level of photography while not being too far from solid ground.
Getting a bit of help
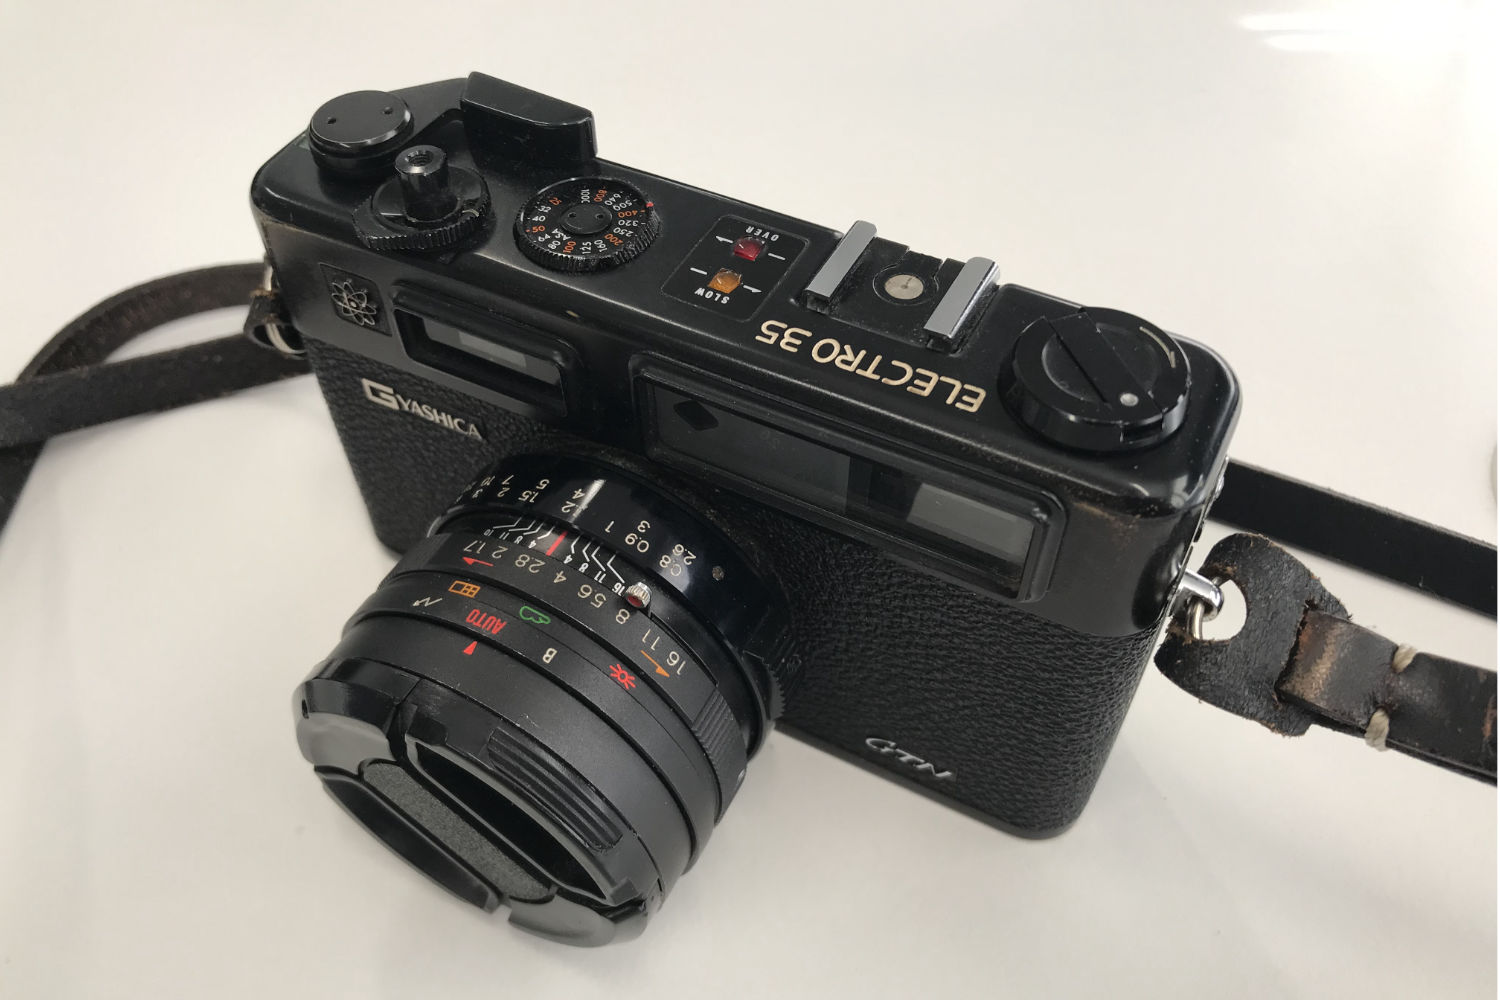
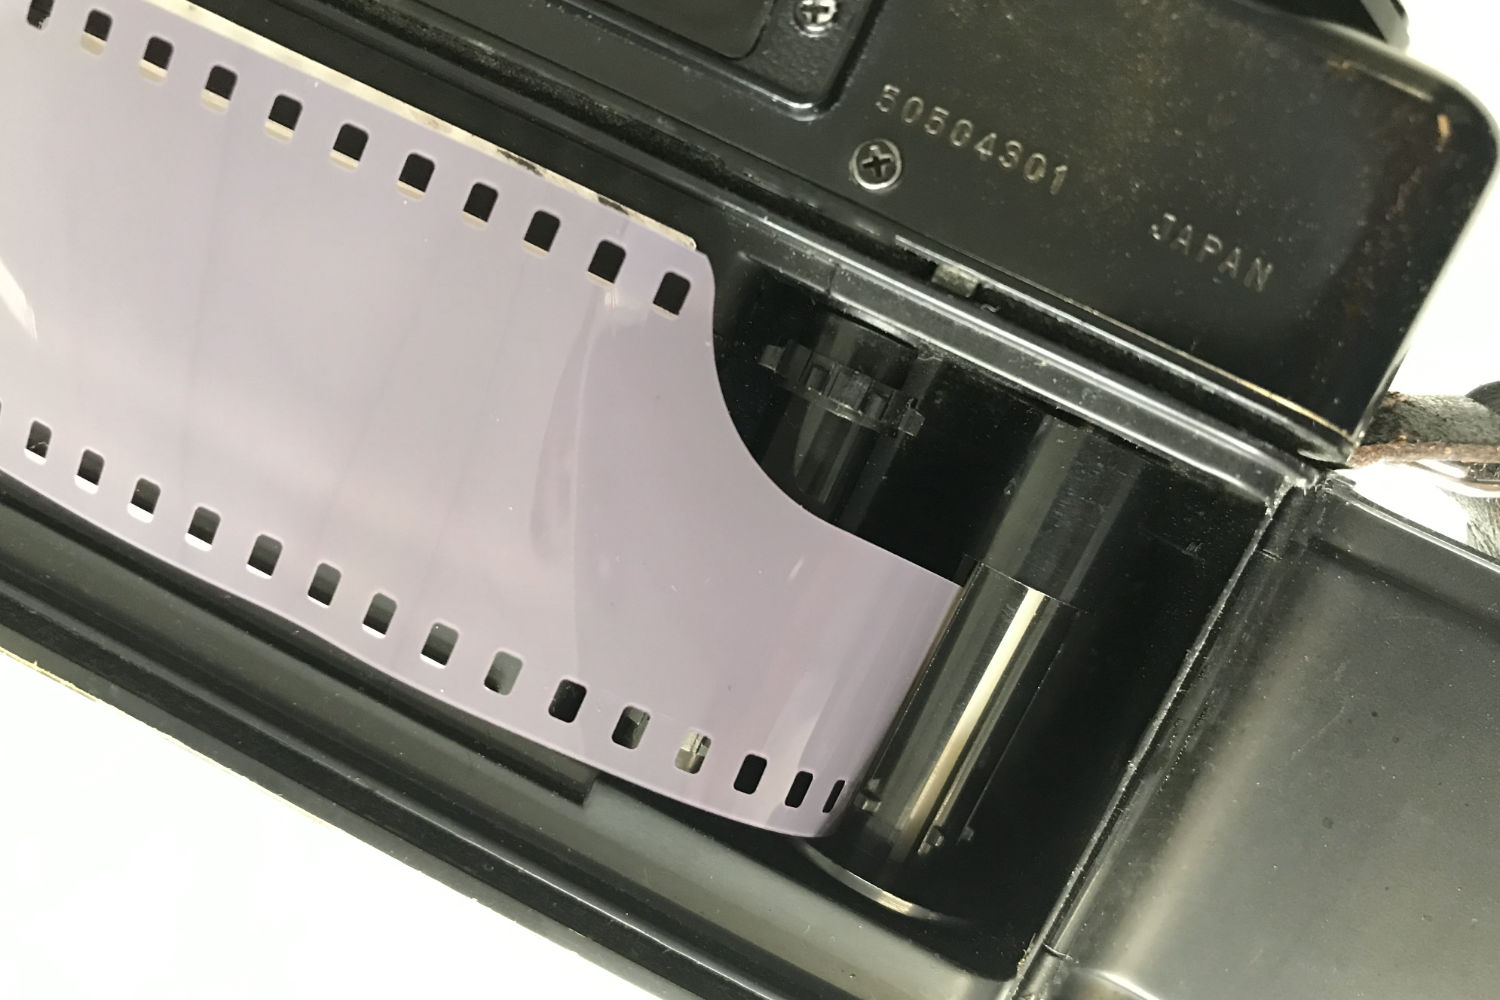
Before I go too far on this journey, let me give you some facts and figures (found on the Yashica Guy and Ken Rockwell websites.) The first thing about the Electro 35 is it shoots 35mm film if you had not already guessed by its name. It comes in several models. If the model has a 'T', as in GT or GTN are the black finish models. The G, GS and GSN models are the chrome versions. The camera lens has a focal length of 45mm and an F1.7 - F16 aperture. It's called the COLOR-YASHINON, a name chosen to show it is a camera suitable for colour film, which was becoming more popular at the time of launch.
My Yashica
I've owned an Electro 35 GTN for over five years, and it is a camera I love to take for both candid and professional work. I bought mine from Japan on eBay, and I emailed the seller to confirm the meter, shutter and film advanced were in working order. Undertaking those three checks confirmed that the electronics worked or it was not suffering from the Pad of Death.
While the Electro 35 is not demure, nor is not a brick. It's a sturdy, solid metal constructed camera, weighing 750g (26.4 oz) without a battery. It is not one of those cheap plastic, fantastic cameras. It is a serious camera, and it's built to last.
Getting the shot
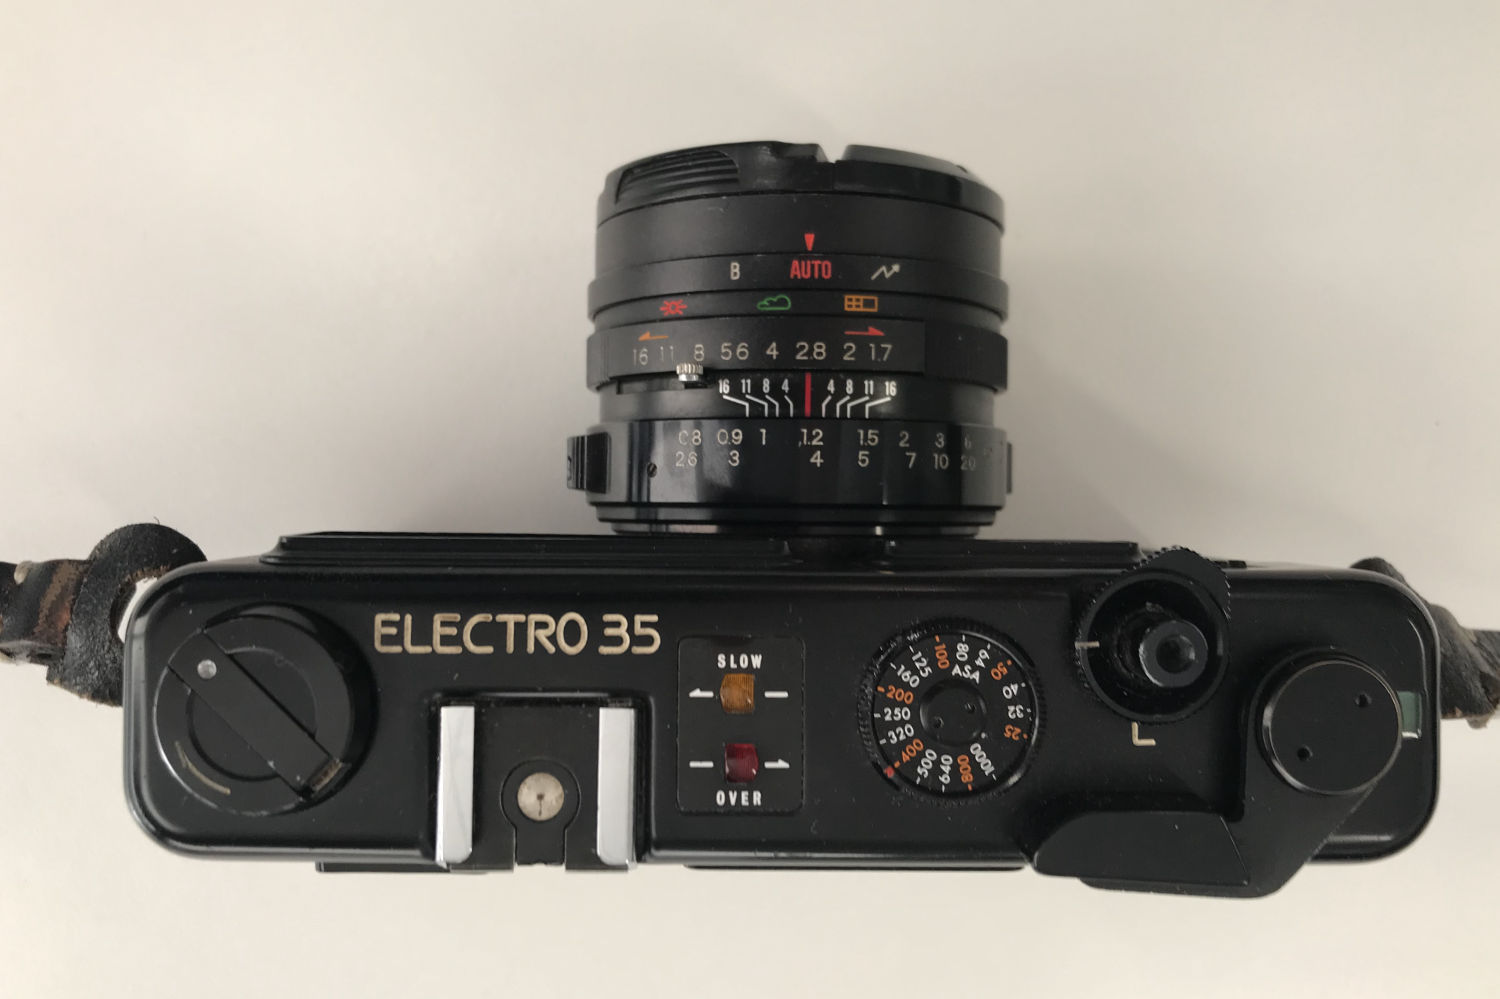
Taking photos with the Yashica is very easy. Given the camera is an Aperture Priority camera, the main requirement is to focus and take the shot. Ok, there are some things to consider, like the aperture needs to select and you need to set the film speed. So, if you are a Point-n-Shoot photographer and you have about the right amount of light in the photo, the Electro 35 is an auto-exposure device.
When they first start using Electro 35 many newbies are tempted to load a mid-speed film, say a Fomapan Creative 200 or Ilford HP5 and set the aperture to F8. Using the F8 camera setup is a perfect choice for most scenes, like daytime street photography, but the camera offers more control than a simple Click-n-pray one. There are two options to control the camera, the first adjustment is aperture, and the second is ISO (ASA) adjustment.
Aperture Control
As it is an aperture-priority camera, there is a way to help you get the best shot for the lighting conditions. The aperture range is from F1.7 to F16. A half-press of the shutter release activates the built-in light meter, taking an average exposure reading. The exposure range is from 1/500th of a second to 30 seconds, which allows for some great, lowlight photography.
The other way
Lowlight photography is less of a problem as the camera will calculate the required exposure. Given the camera will go to the extreme, or up to 30-second exposure, we need to be more creative to archive that special shot.
Change the ASA setting
The first of the "other ways" to deal with the exposure is to change the light meter setting. Simply increase the ASA to a higher value to shorten the exposure time or decrease it to increase the exposure time. Yes, it is that simple, but you would be surprised how many people get concerned about the practice.
Changing the ASA is a great way to adjust for strong backlights or when you want to tame the highlight. Using the ASA method allows you to get the subject exposed correctly, but it is not the only way to change things.
Rose coloured glasses
The other creative option you have to change things is by using filters. As the light meter is separate from the lens, the exposure will be calculated as if there is no filter, so you either have to select a slower ASA based on the filter adjustment or let the shot be shorter than it should be.
As the ISO tops out at 1000, I have used a red filter to bring the exposure on Delta 3200 under control. The use of filters is a subject for another article, but I often use a yellow filter to lift things. If it is a neutrally light scene, I will simply dial the ASA down one stop.
Conclusion
Writing this article has taken me on a journey that reminds me why I like the Yashica Electro 35. It is a high-quality camera that I am glad to own. It is not like a Leica or even tries to be, but it's a great Rangefinder to have in your arsenal.