Five photos with Pan F
SHOOTING THE MYSTICAL PAN F
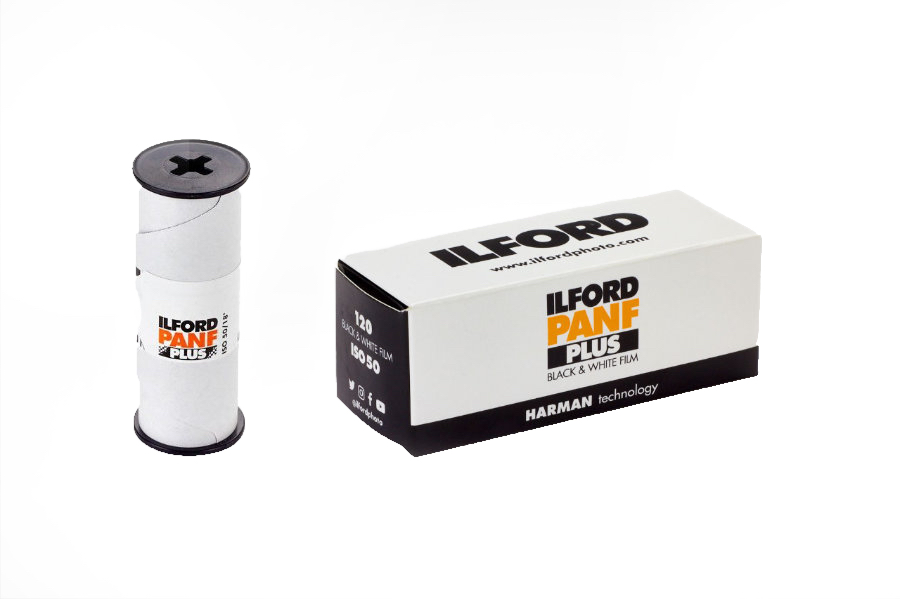
Introducing the devil!
Ilford Pan F Plus is a film that seems to have an internet reputation of been a difficult film to use. Watching some YouTubers, you might be convinced to give the film a very wide berth, as images disappear magically from the film or the exposure is all over the place. I take objection to such comments, as the film has been nothing but a joy to use.
Shooting with my Hasselblad 500CM, with the standard 80mm Carl Zeiss F2.8 lens. I like the feel the lens gives to the images I am able to capture, and I was excited to shoot a roll of Pan F. I shot the images on a small 5-acre property up in Wollombi in the Hunter Valley, a 120 KMs (75 miles) out of Sydney. The conditions were ideal, with a thin layer of cloud cover that stopped the harsh contrast of sun and shadow.
Photo One
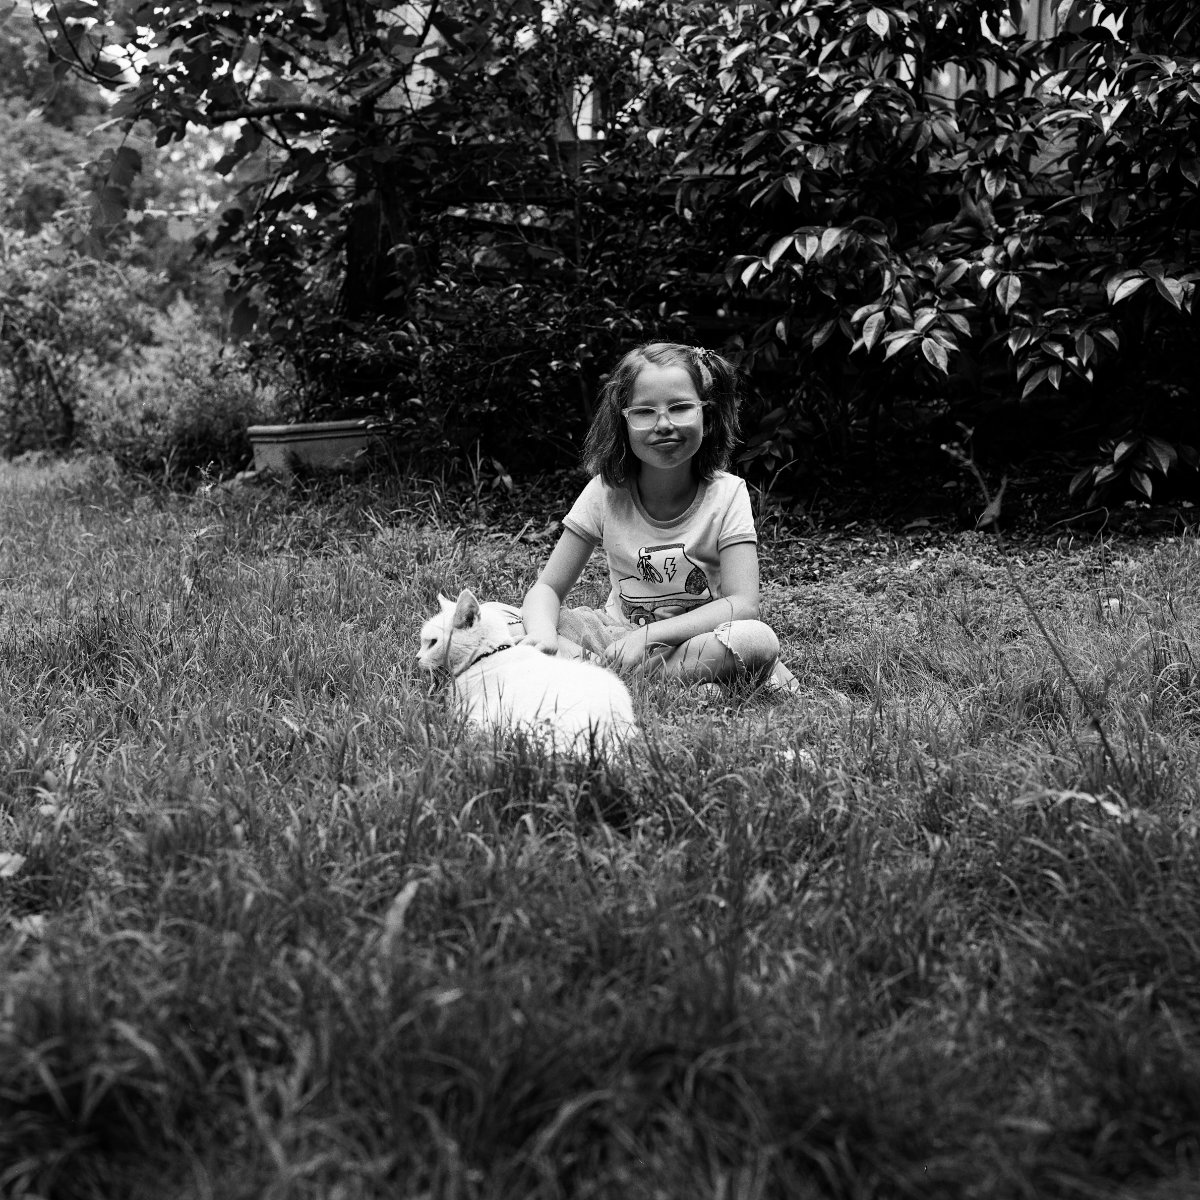
Ophelia with Horatio
The first photo is of Ophelia and Horatio, the cat. The exposure was calculated with the assistance of my Weston Euro-meter with an Invercone. Ophelia held the meter in front of her face to get the exposure for her face. Ophelia's face is perfectly exposed and so is the grass. Horatio is slightly overexposed, but well within the tolerances of the film, and the shadows retain a lot of detail.
Zooming in on the photo we see the beauty of the film. The grain is almost non-existent and allows some very tight crops. So, except for some that believe that a scan is like an enlargement, most agree you can get large sized images via the photographic process. I have 16" by 20" and love the result.
Photo Two
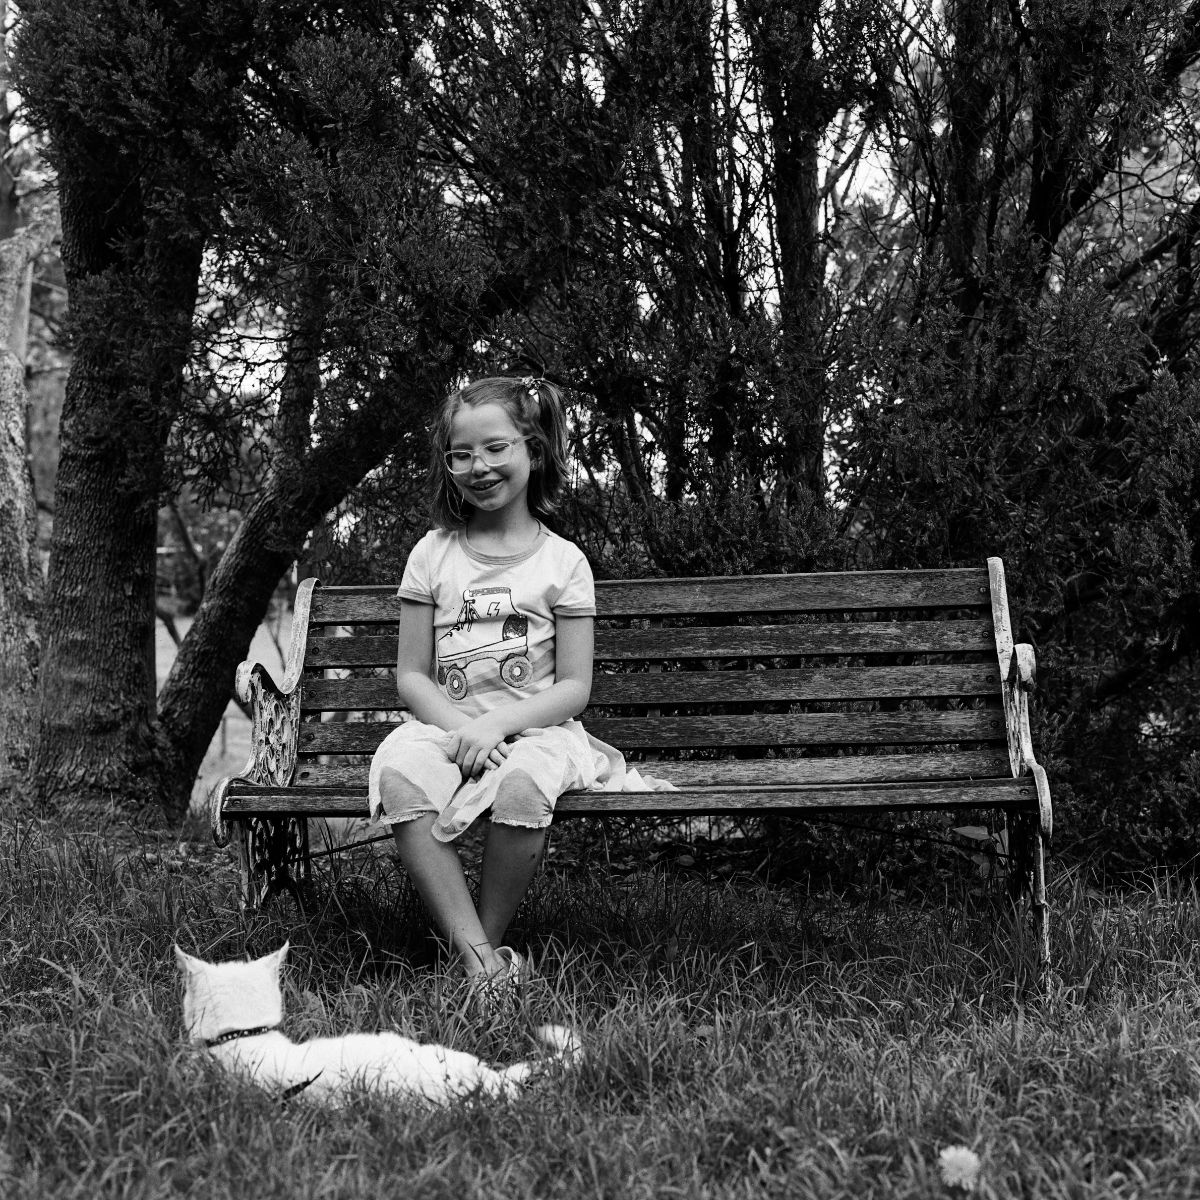
Ophelia with Horatio, No.: 2
The second photo is Ophelia and Horatio repositioned to allow for a better balance of the exposure. Ophelia and Horatio are under the shade, and this allows me to take a reading under Ophelia's chin. The exposure is great for the skin tones, and it covers the deeper shadows and the white fur of Horatio.
Photo Three
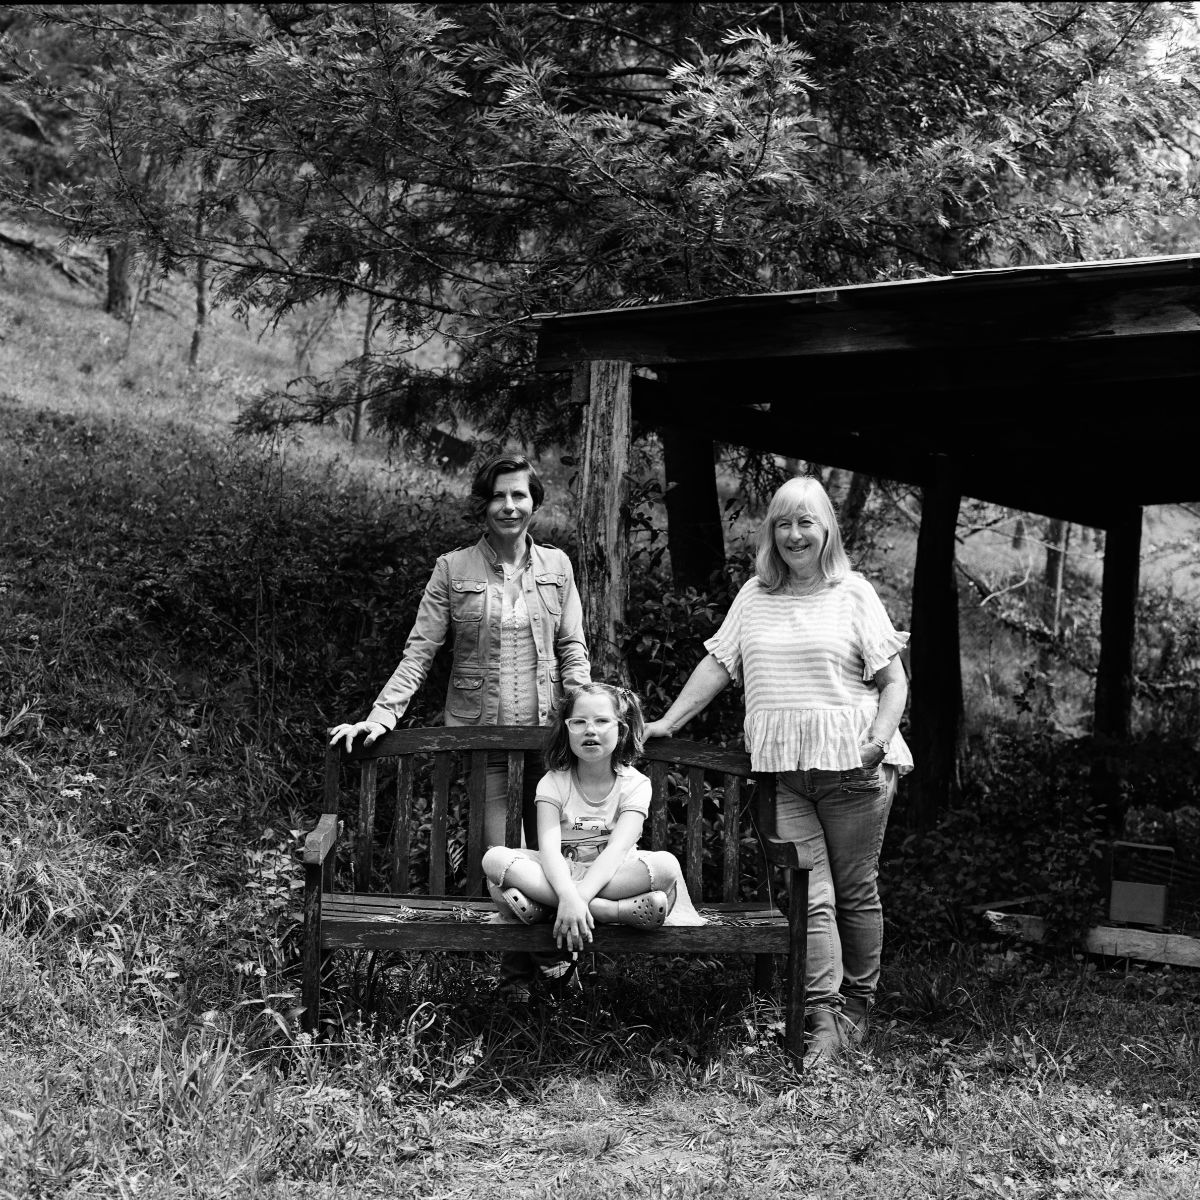
The Back Lean-to
The third shot sees me move away from the relative evenly lit part of the property and into the bright daylight, where the exposure was 7 zones. This is problematic for most films on the market, but I was happy to see that we managed to get detail in all areas except for under the lean-to roof. Again, I exposed for the skin on Ophelia, who took the measurement and is becoming a dab hand at using the Weston Euro-meter.
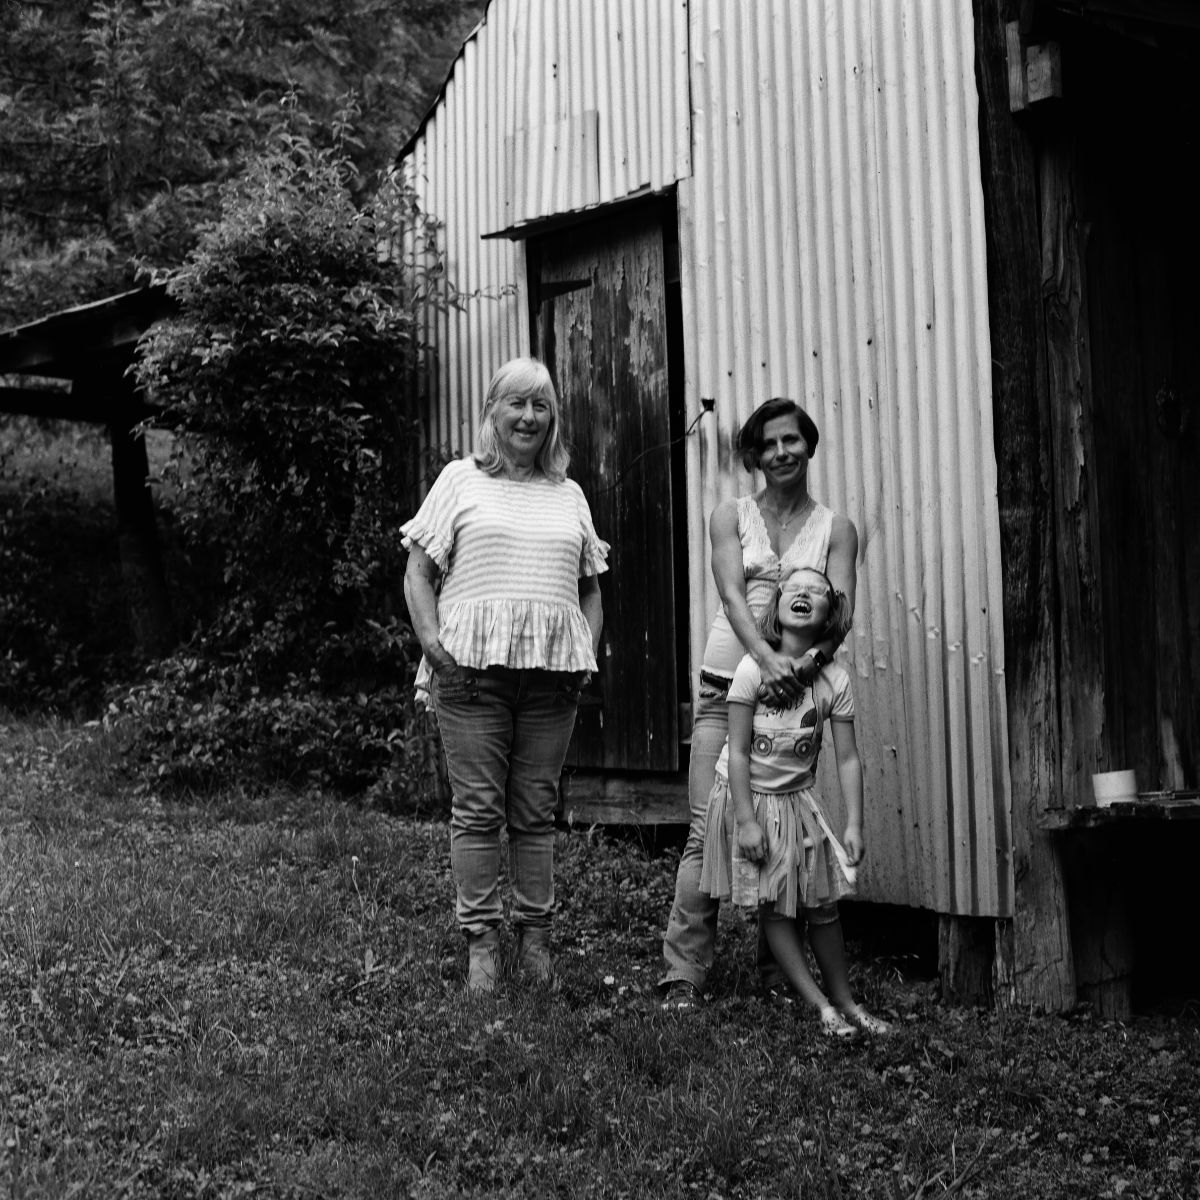
Corrugated Tin Shed
The fourth photo sees me photographing against a very bright corrugated tin. The exposure, which I measure in reflective mode was a bit underexposed. The extra light from the tin affected the meter reading and I underestimated the amount of adjustment that was required. Still, I have sufficient detail in most of the shadow areas.
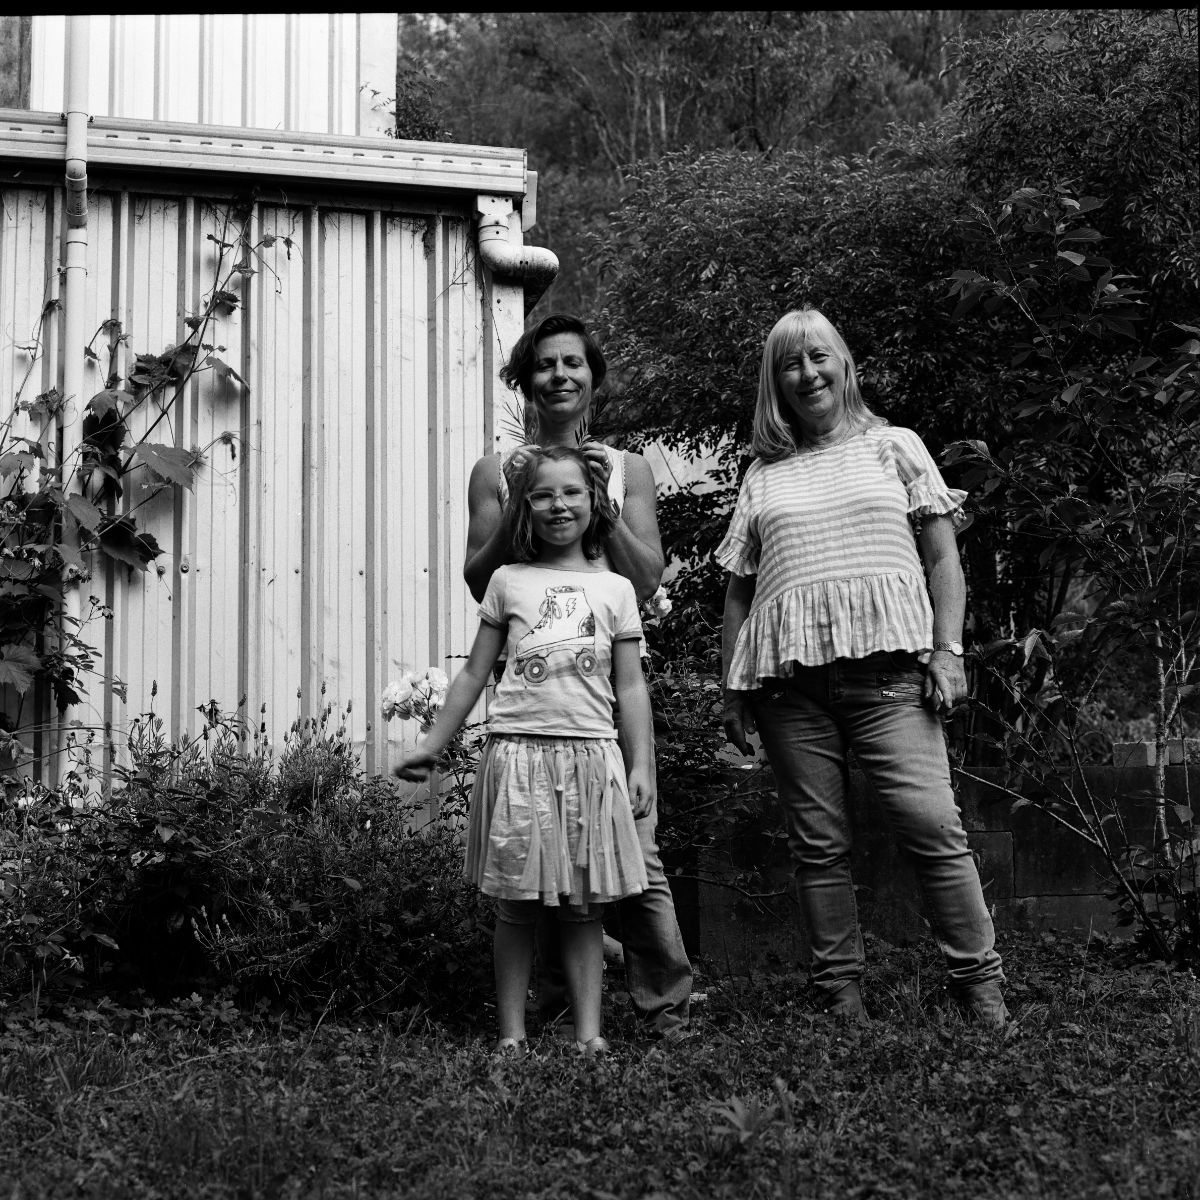
A different view of the Tin Shed
My final photo was another one that was contrasty. This was again a reflective meter reading, but as I had to squint, I dialled the aperture down an extra stop. The exposure was not quite right for the skin, but with multigrade paper and multi-filter exposure would correct the underexposure and keep the lovely contrast.
Conclusions
So, contrary to the nay-sayers, the film gives incredibly good results. Shooting medium format is certainly the way to get fantastic, almost grain-free images from the film that can be enlarged all the way up to poster size.
If I have managed to whet your appetite a little, I would suggest is that you ignore the controversy around the film and instead go out and shoot a roll or two. Yes, it is a slow film, so it is important to plan when and how you take the photos, but the results and the 'feel' of the image will make the extra planning and effort well worth it.